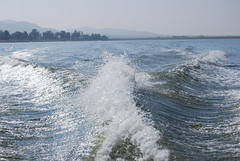
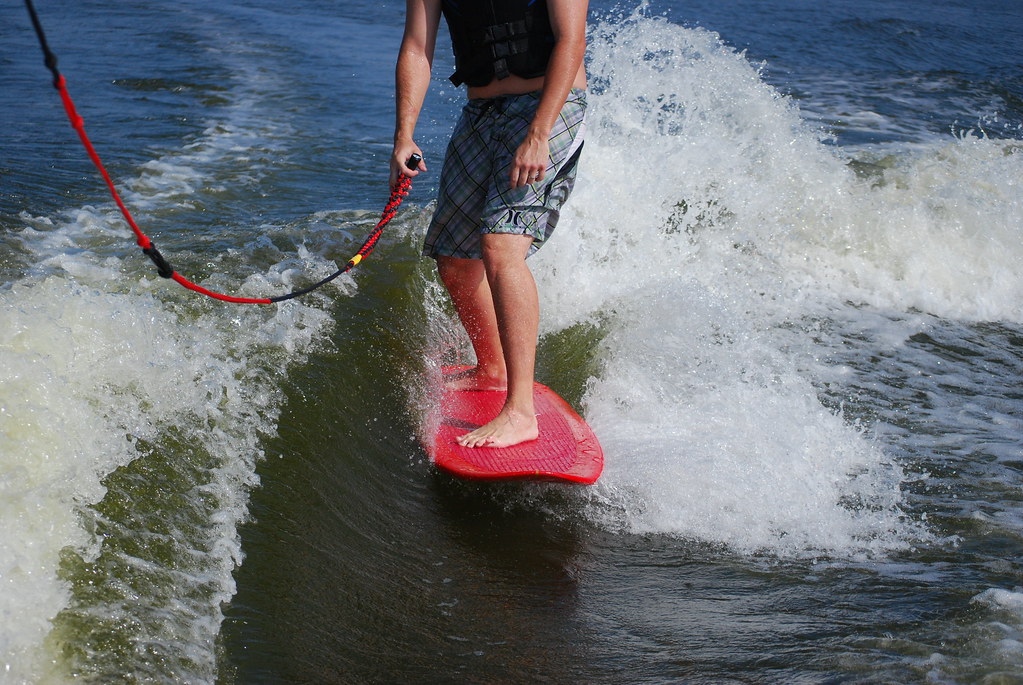
We did a fake a lake water test on Saturday night and there were no leaks! It was solid and worked great. Took it to the lake on Sunday morning and gave it another test. Worked great and no leaks! The water wasn't great but here is the wake at 22 and taps at 4. G-Money did some boarding and we both surfed. It drained great and created a vacuum like we thought. With some tweaking next week we will have it dialed in. Here is the link to all of my photo's on flickr http://flickr.com/photos/19181202@N06/sets/72157606230615556/ I had to throw this one in for laughs. G was throwing some spins and got caught.
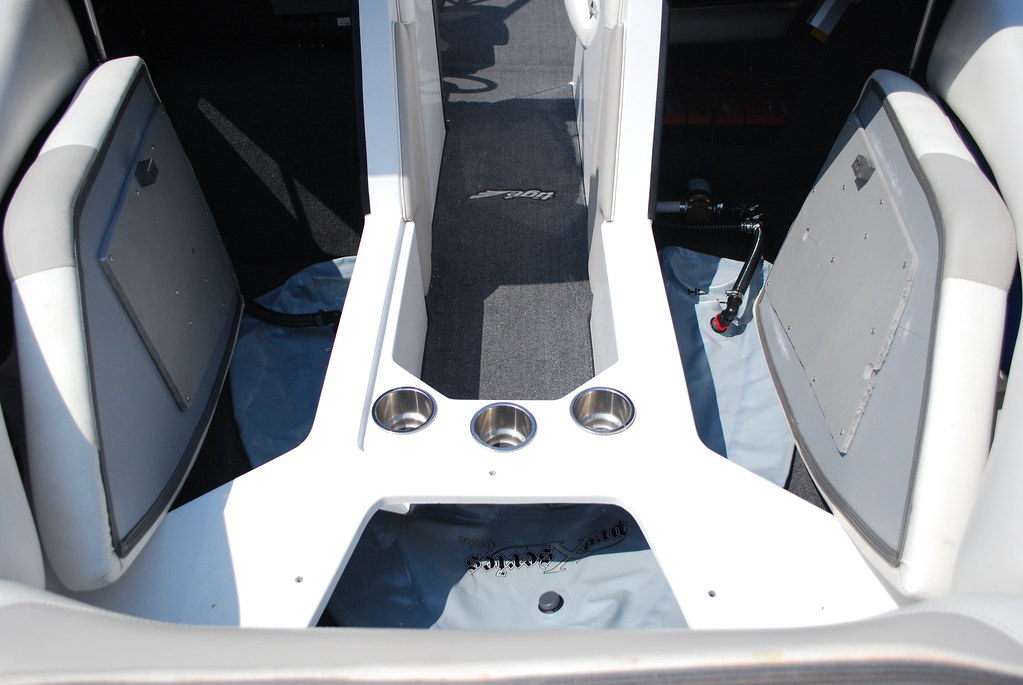
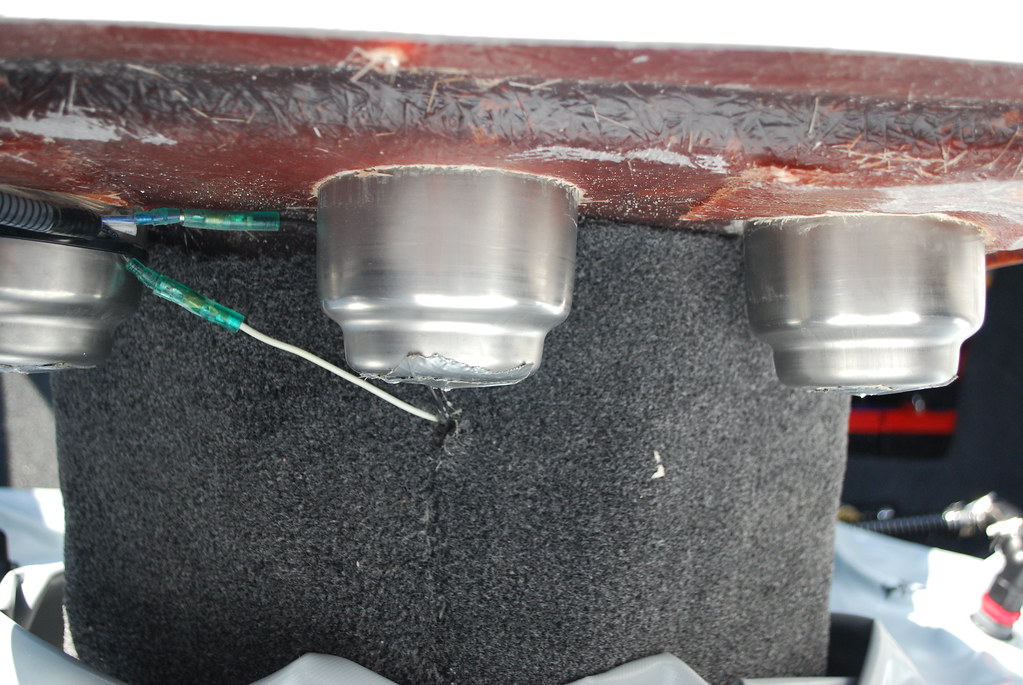
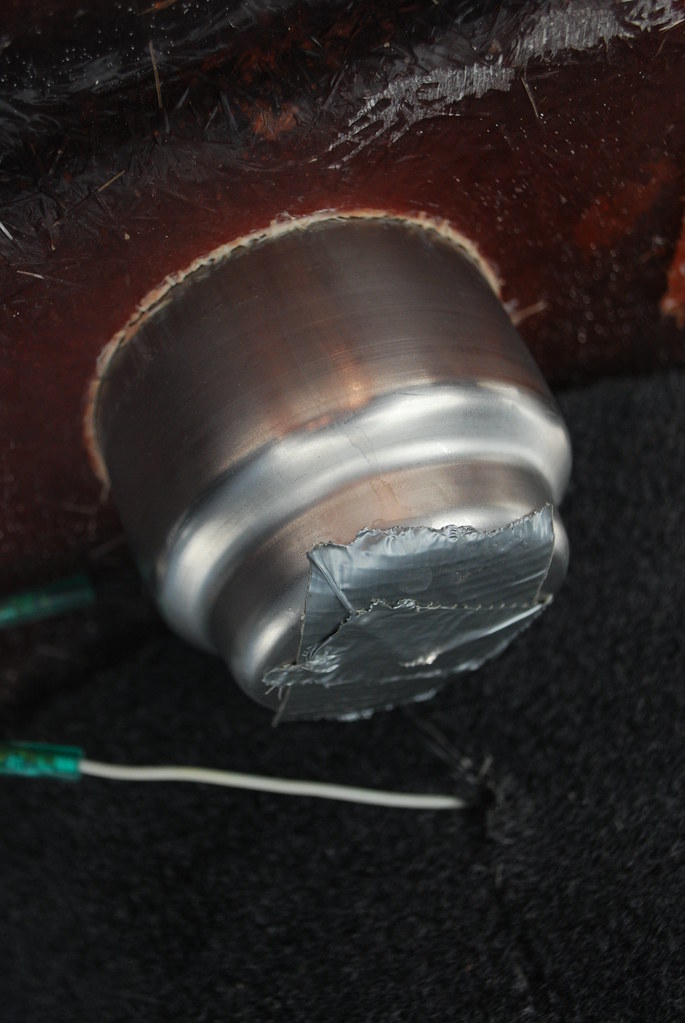
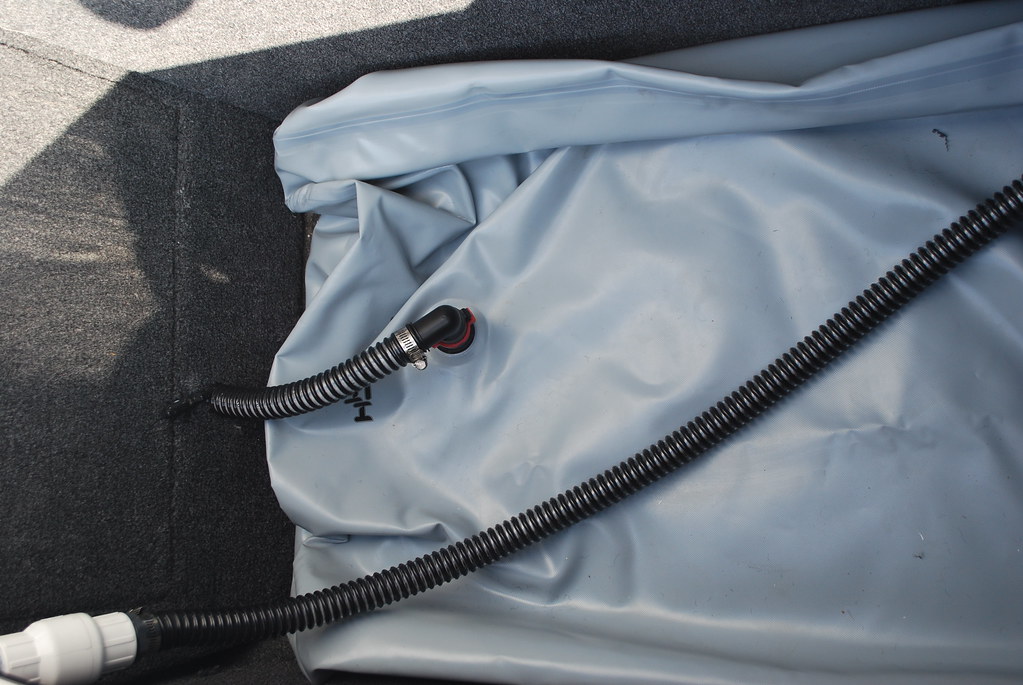
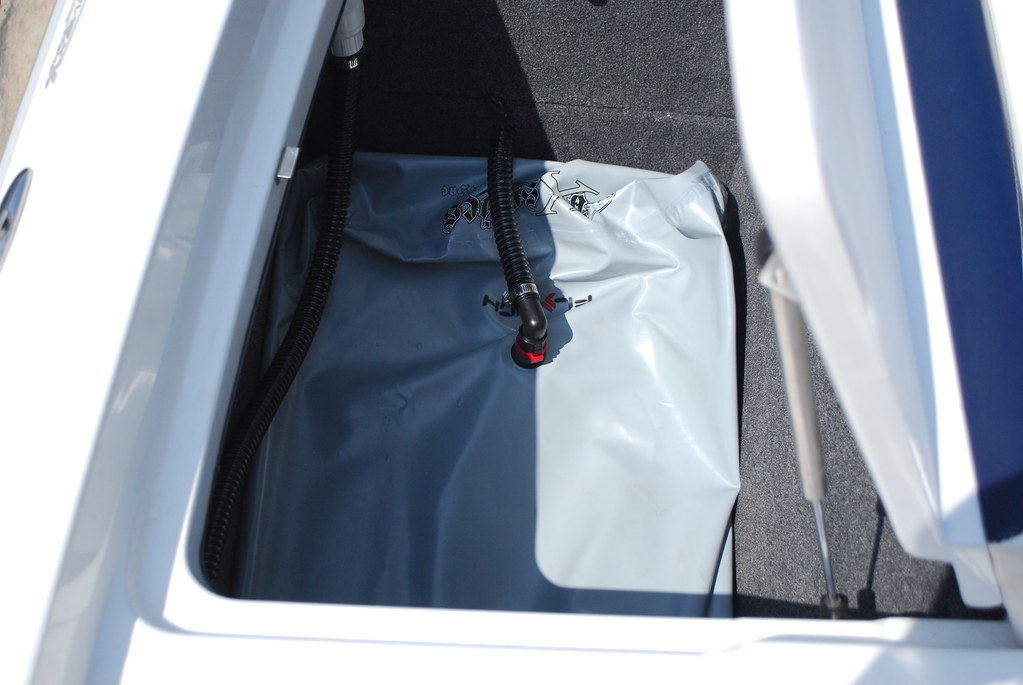
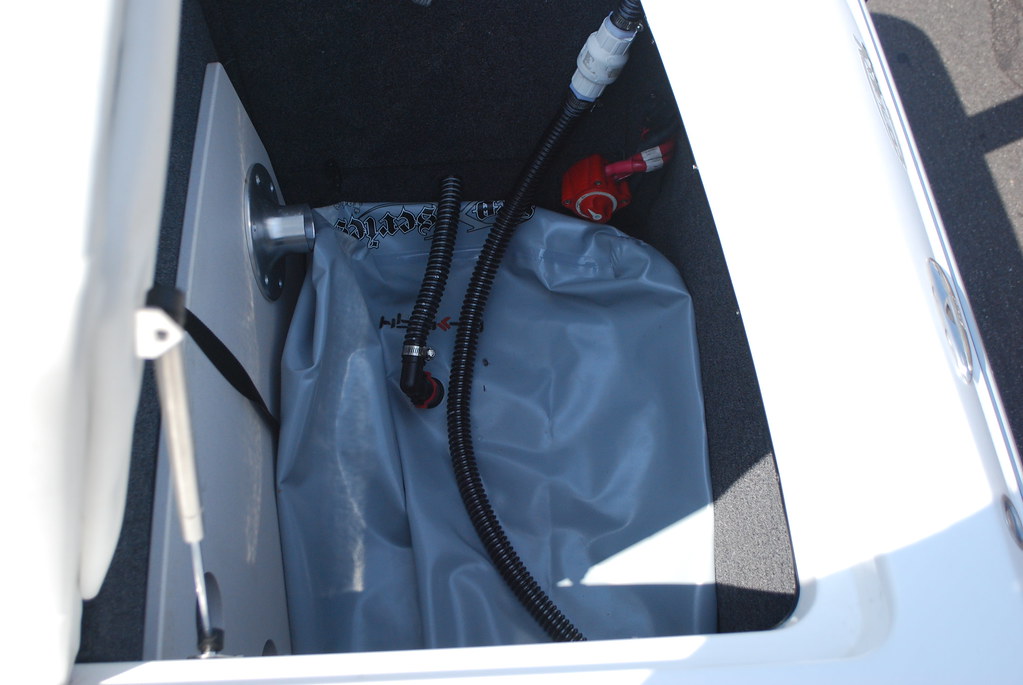
The front U bag took some more planning. We are filling from the top on the port side and from the bottom of the starboard side. I removed all of the vent hose and got rid of it. It wasn't doing much but getting in the way. We ran some multiflex though the hole the vent hose was in and fished it though on the first try to the other side. We mounted the pump on the port side because my Sub box was too big and was going to put the bag right on the pump. From the pump we ran a T so we can fill both sided of the bag at the same time. We fished the electical though the same vent hole to the other side. That was more trying and we used a fishing tool to get the wires pulled. On the Starboard side we put the vent on top of the bag and filled from the bottom. We found that the front cup holders have sharp nipples on the bottom of them so cut them off and filed them down and put some duct tape on the bottom to protect the bag. When the bag was full it popped the cup holders out and pushed up the front seat in the middle.
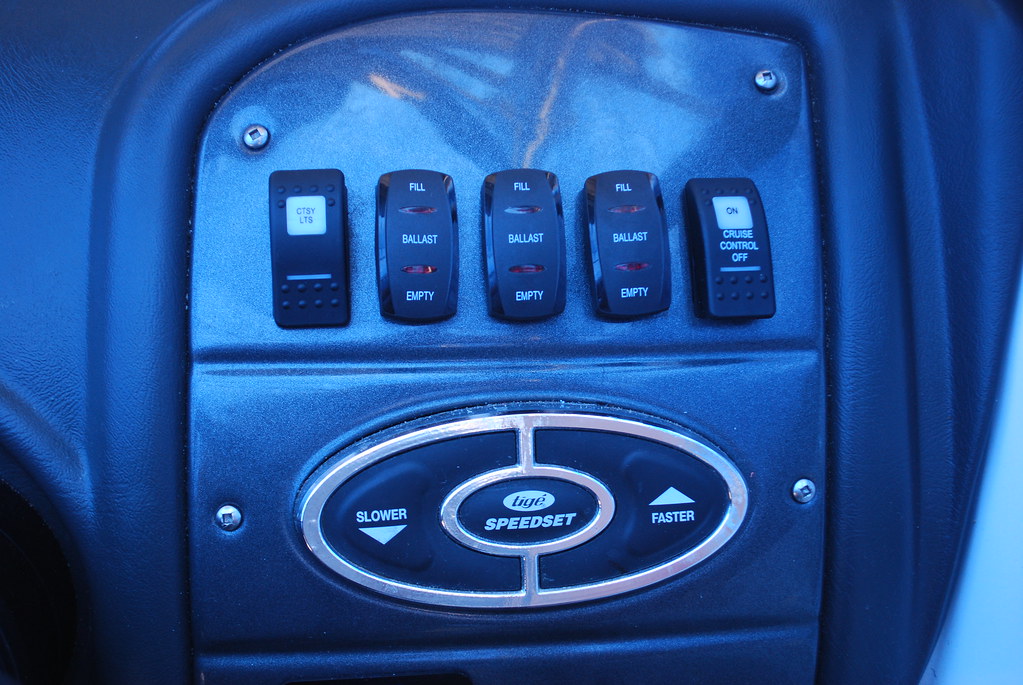
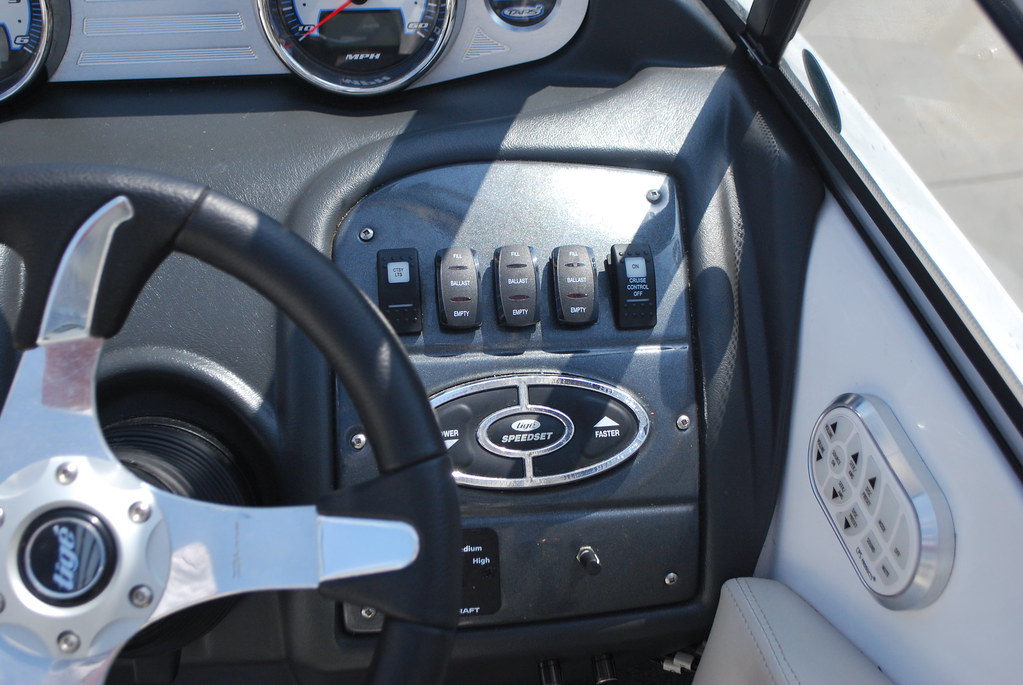
G-Money pictured here did all of the wiring. Sorry not many pics as I had to be at a car wash for my football team and G was working all morning by himself. 6'8" in a boat doesn't work very well. G can put comments up on how he did the electrical. Here is the simple break down. We removed the 3 dead switches that aren't used on my boat and replaced them with the ballast puppy switches. G tapped into the large fuse box under the dash where he found the ground and power. The wires to the pumps were run though the middle of the floor and the front pump power was run though the top of the panel.
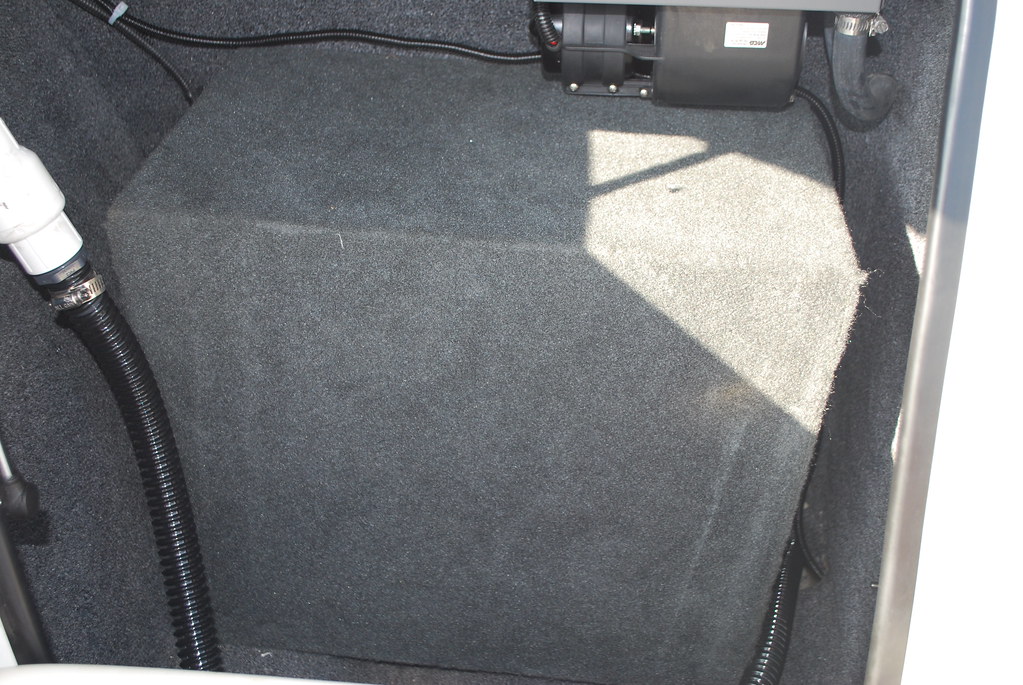
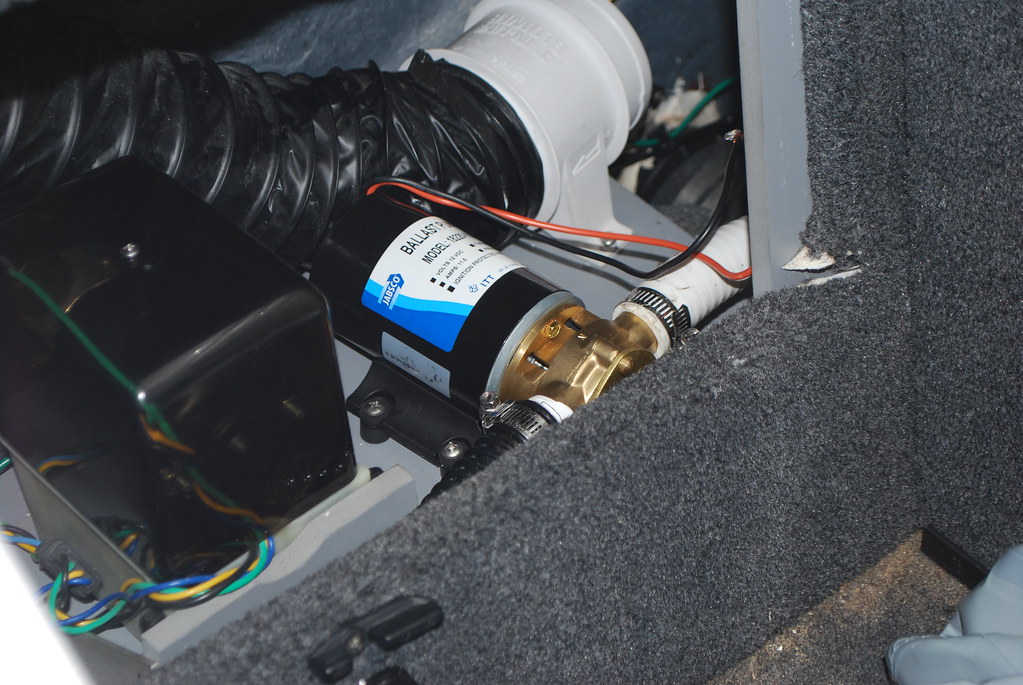
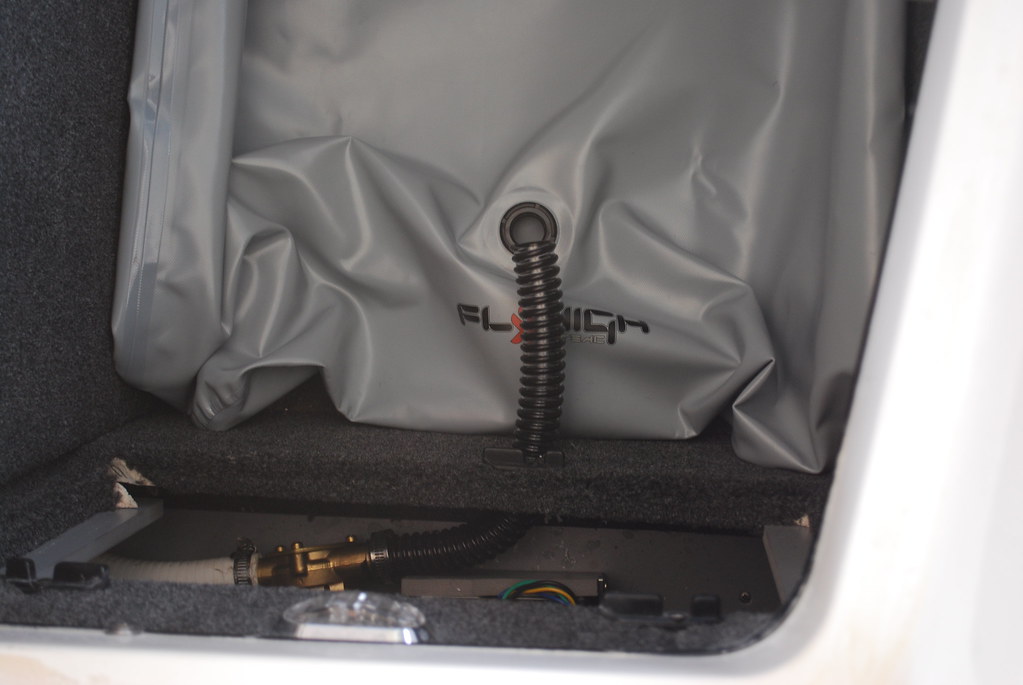
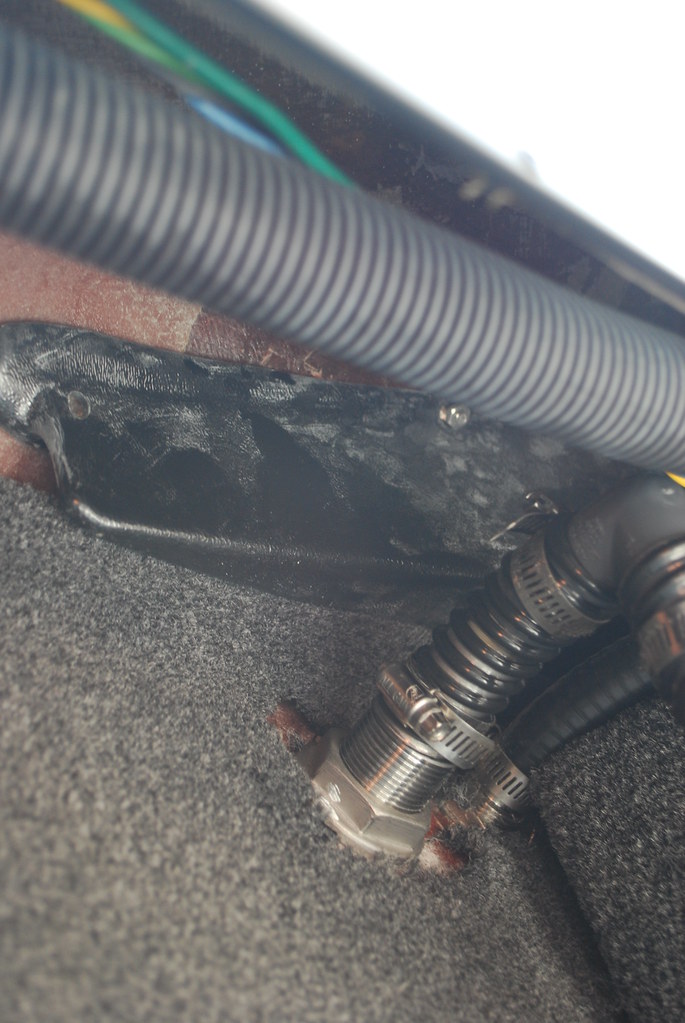
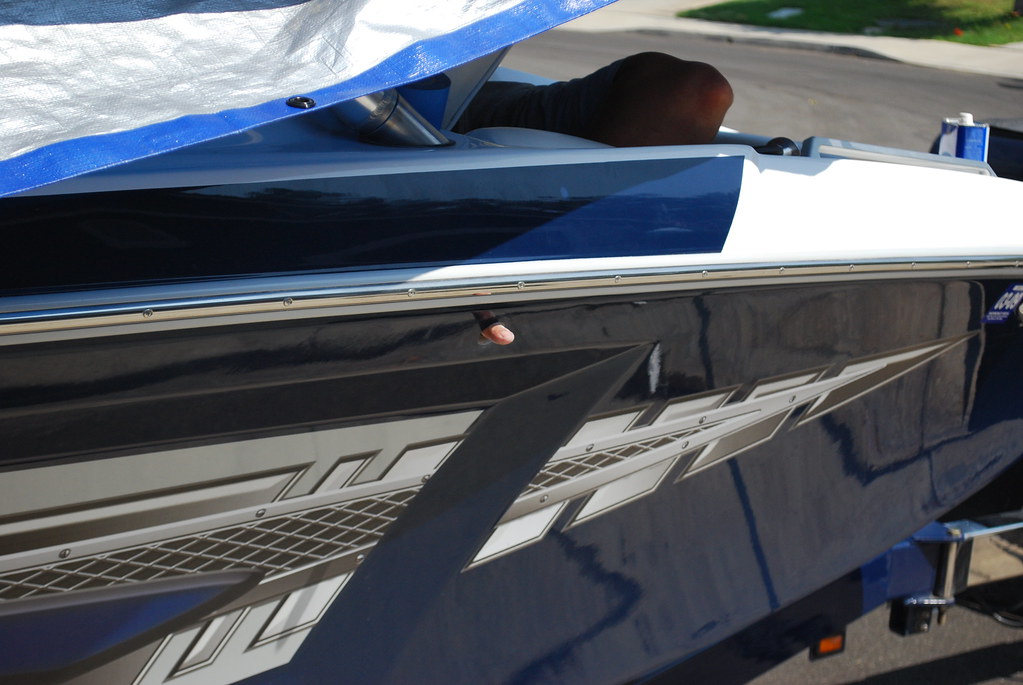
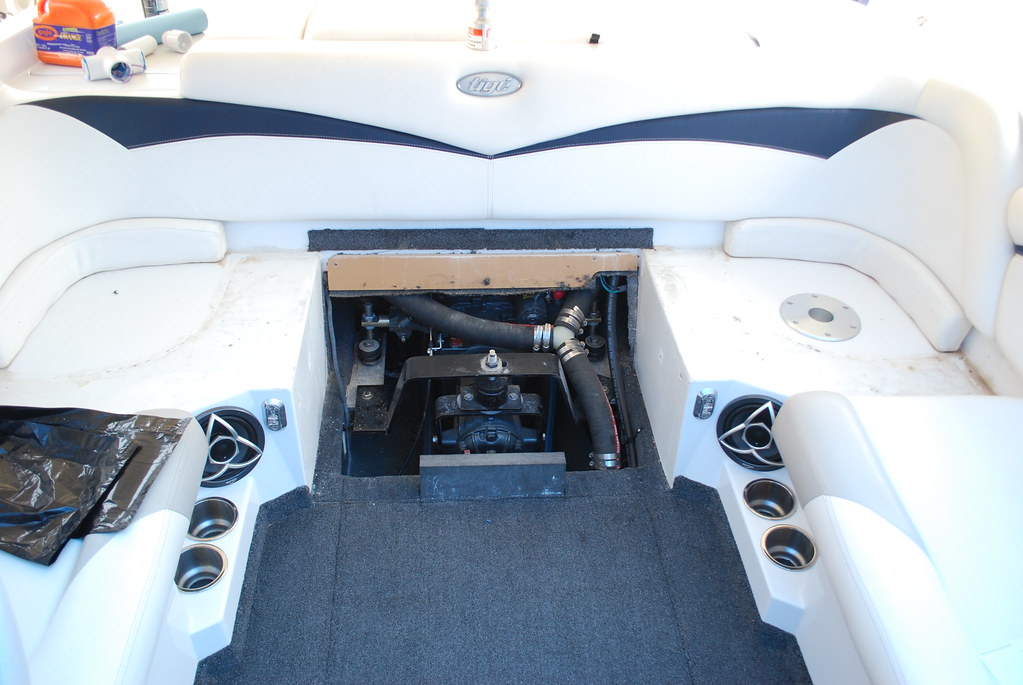
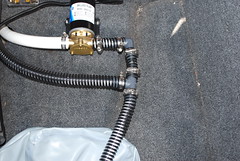
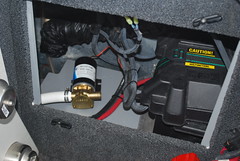
We put the pumps behind the access panel in the rear lockers. It made for a very easy run of hose and the wonder board is very easy to screw into. I drilled a hole below the access panel for the hose to connect to the bag. We ran the wire from the Port pump across the factory wires and up the side of the engine though the middle of the boat to the inside of the drivers helm. One thing to watch out for is the screws that they used to put in the table base stick out and are sharp! The last picture shows that. I have to go back and cut off the screw ends or buy smaller screws that don't poke though. If I fill the bag all of the way it will make contact and can pop the bag.
After everything set over night we started the assembly of hose to the pumps. Friday night we figured out where the pumps were going and how to tap into the electrical.
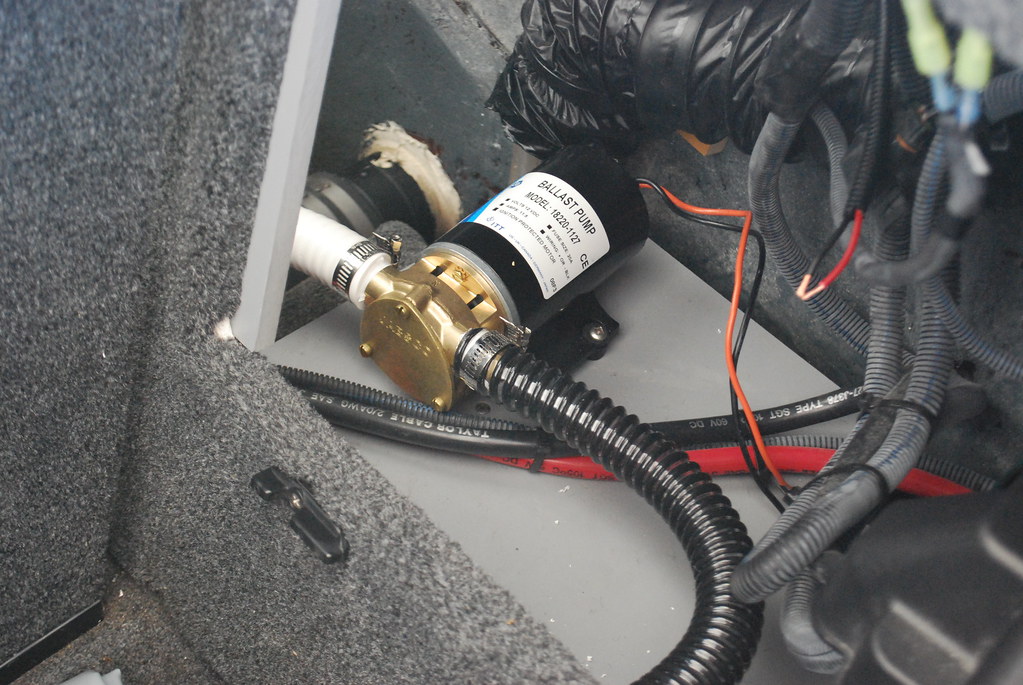
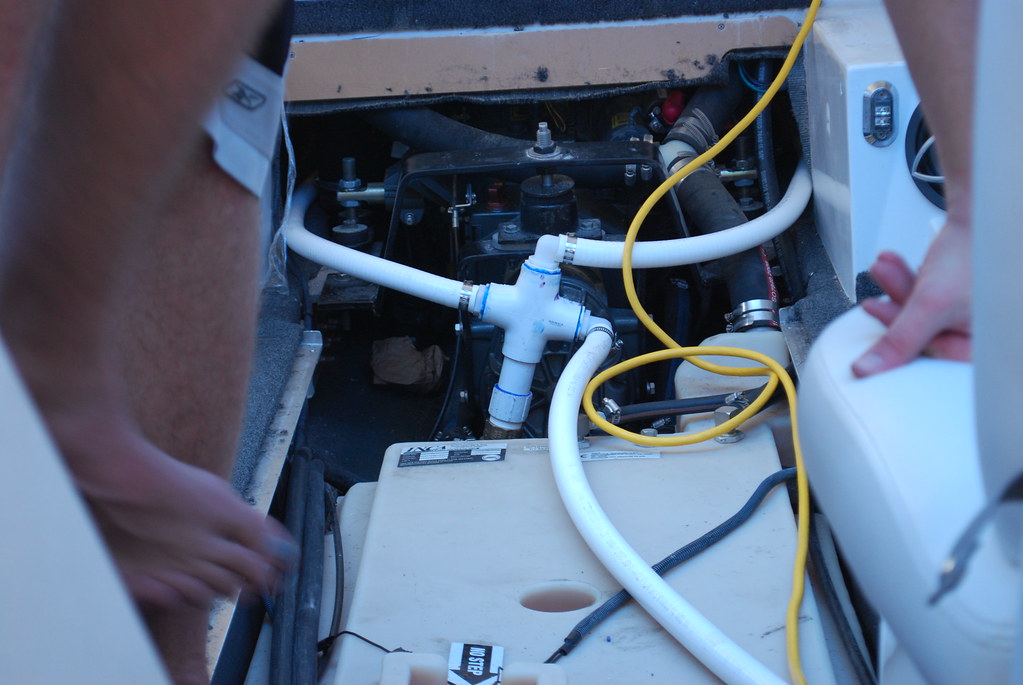
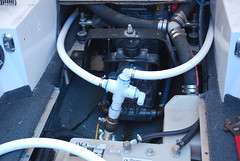
We ran the flex PVC from the manifold to the pumps. We used teflon tape on the ends of the pumps which helped with the connections. The manifold is right up to the floor which helps brace the overall structure.
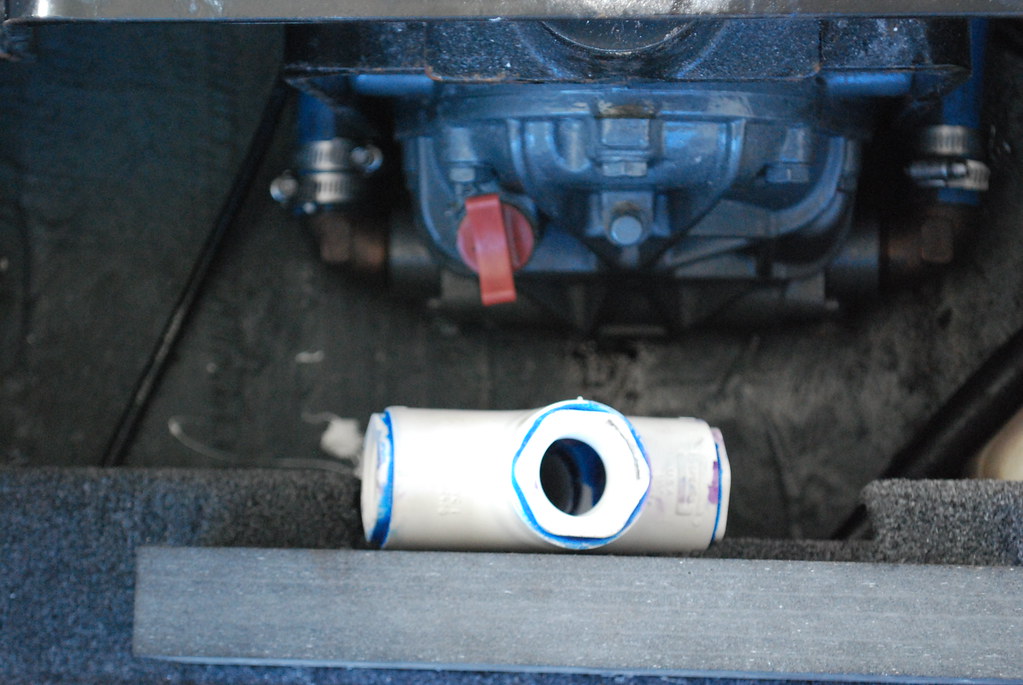
This is the scoop assembly for the manifold. We used a 1 5/8" hole saw. The scoop is 1 1/4" scoop grate. From that I attached a 1 1/4" ball valve so I can shut the system off if there is a problem. After the ball valve it is PVC.
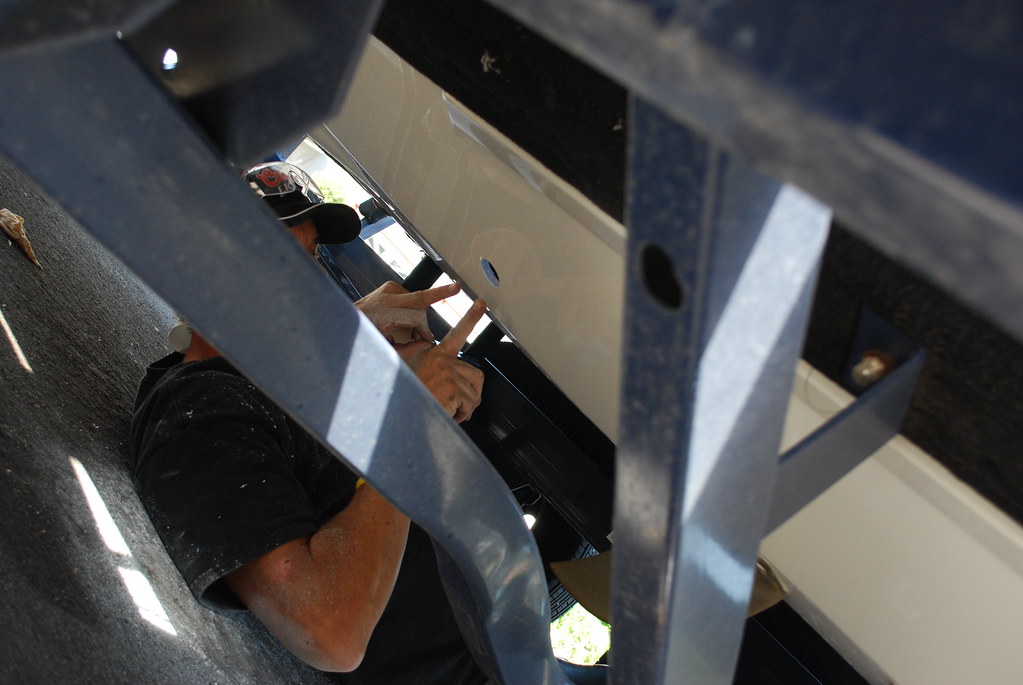
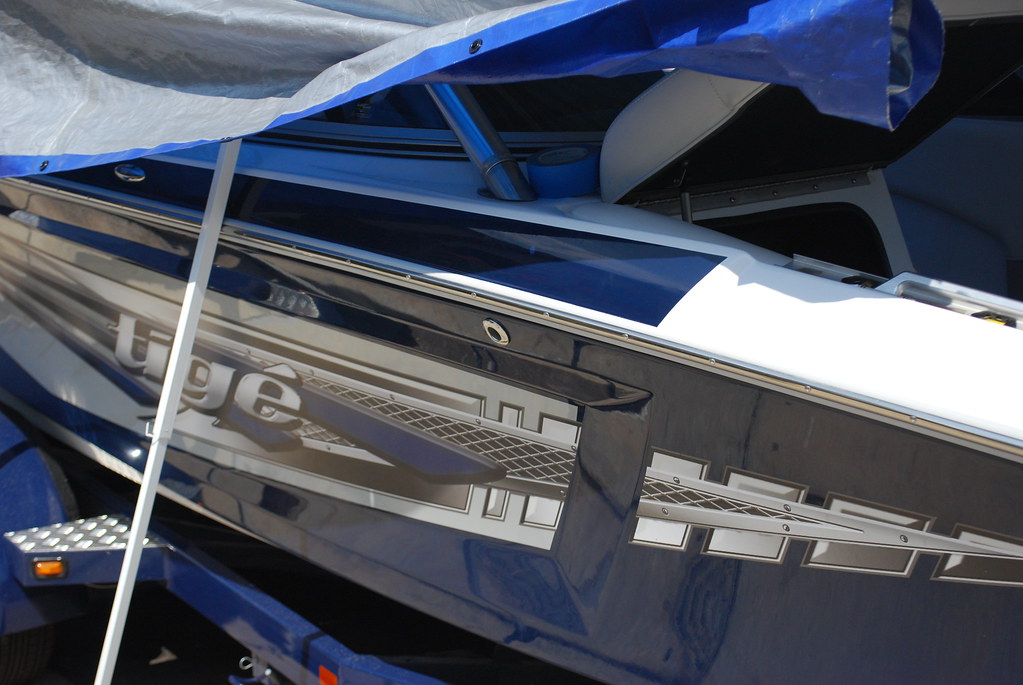
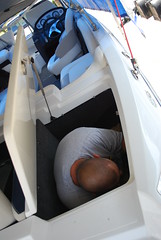
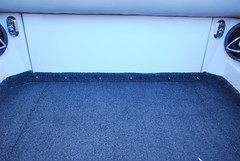
As you can see the storage lockers on the Tige are huge. I am 6'1" and 230 lbs in there. The rest are the pics of the holes we put in the boat and location of the vents and scoop.
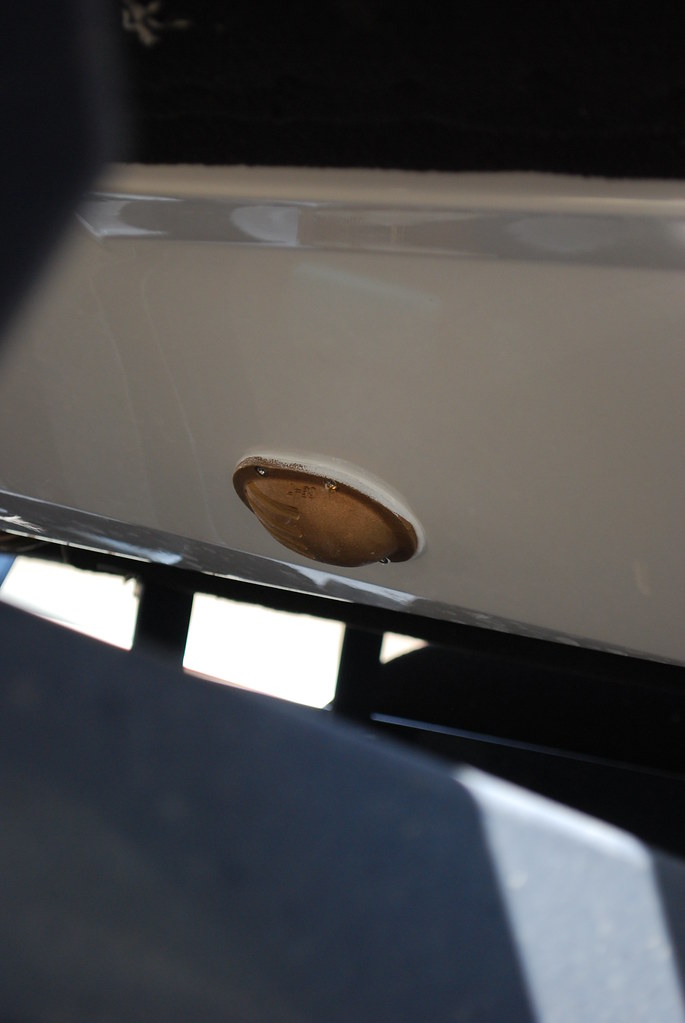
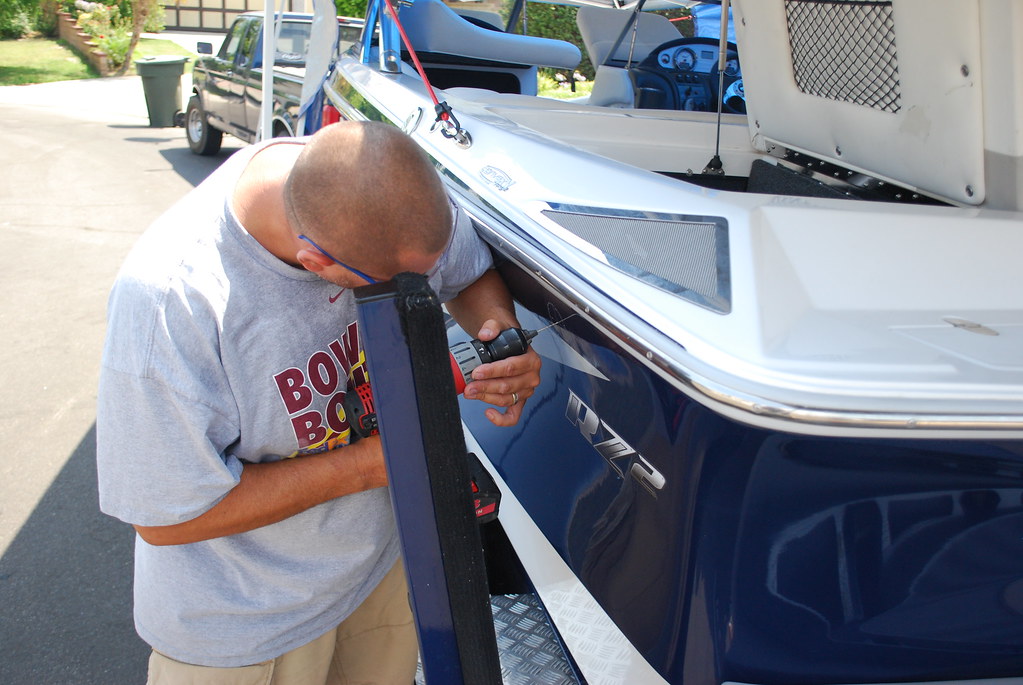
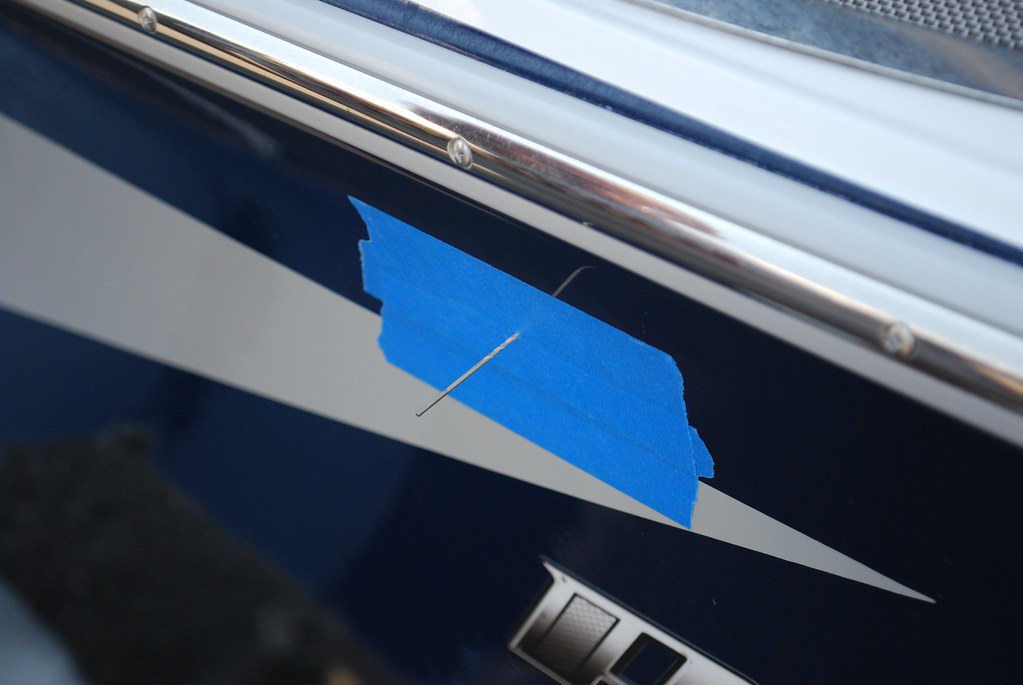
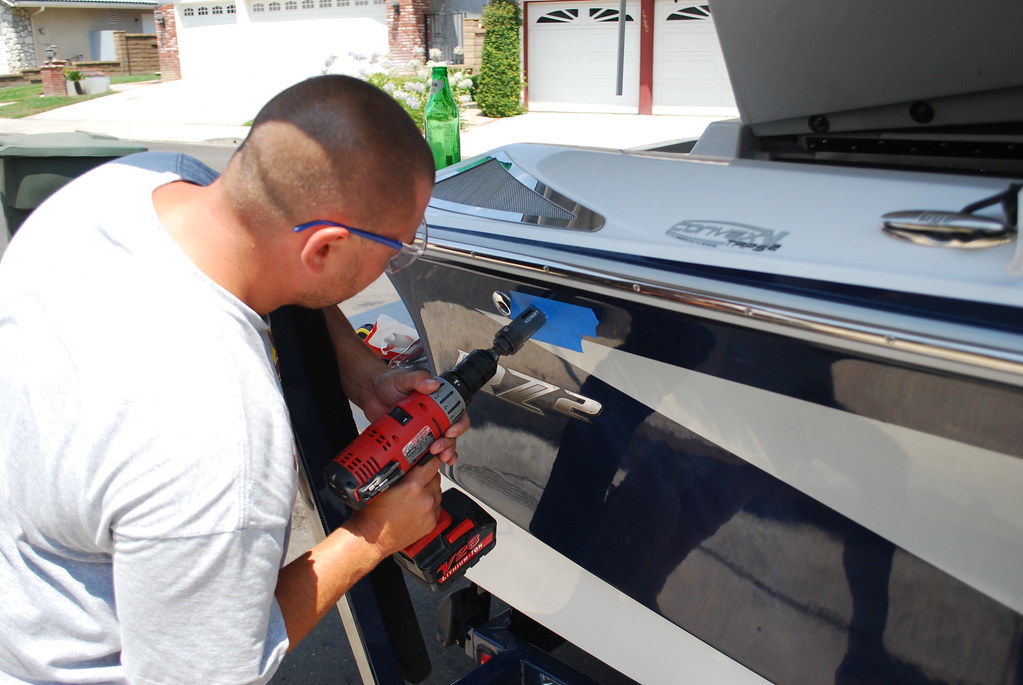
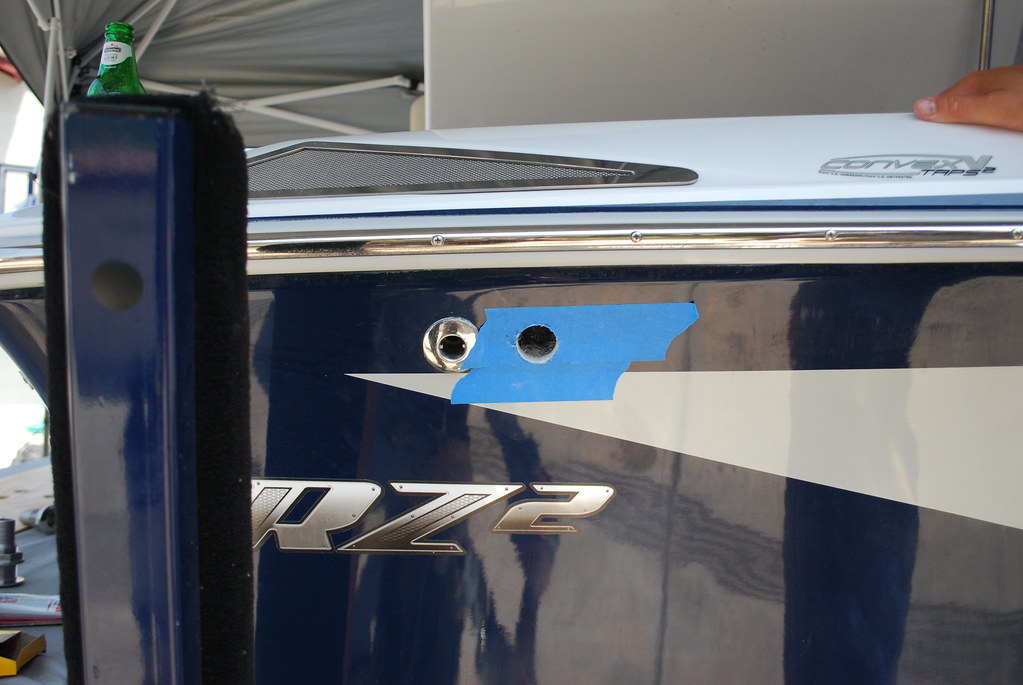
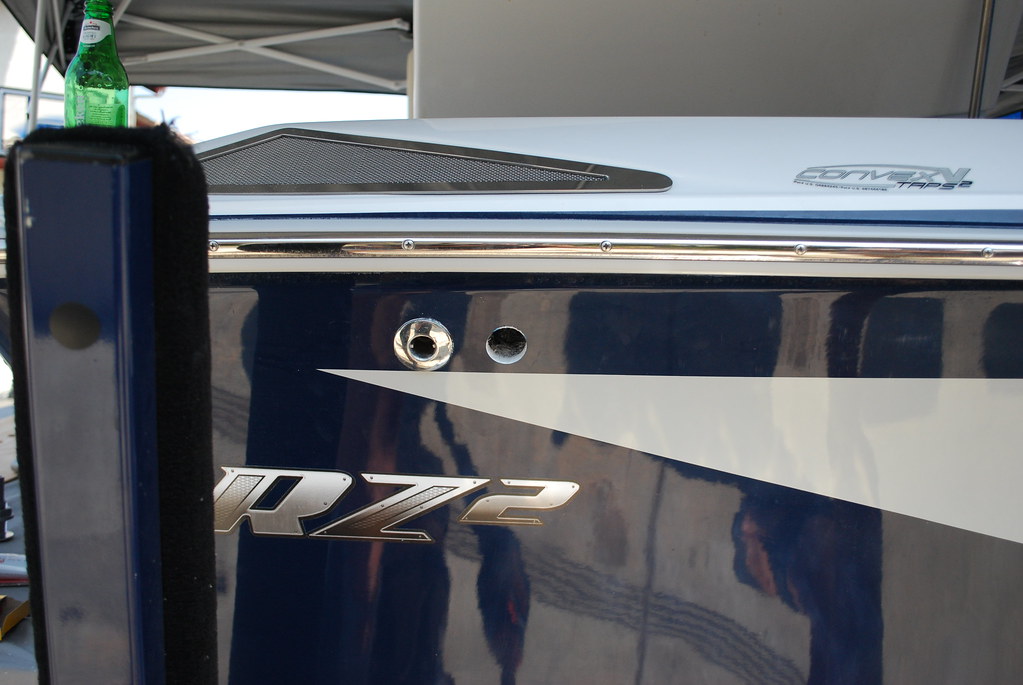
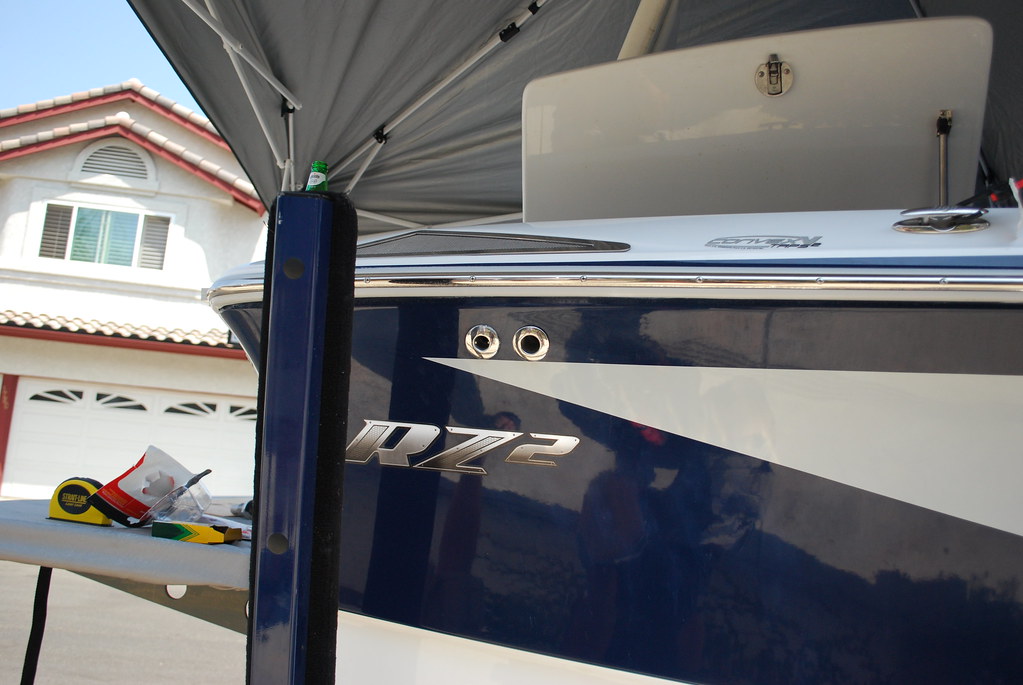
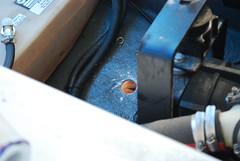
OK this really was the toughest thing to do, but it went A-OK. I did my first hole next to my bilge hole. I used the line of the RZ2 graphics and stole some of my daughters crayons to mark out the location for the hole. Once I had a circle in crayon and and X on it I used the smallest drill bit I owned to make a pilot hole of sorts. I drilled though and then could make sure I had enough clearance to attach the hose clamp. I then laid down the blue tape over and just before I would lay down the bit in the hole so I knew where to start drilling. I drilled in forward with the main bit just before the hole saw came in contact with the boat. Once that happened I put the drill in reverse and drilled though the hull. Each hole was very clean and very tight! After I drilled I cut away the excess carpet inside the compartment (which is huge BTW) and then cleaned the area with Acetone and cleaned the though hull with acetone. After that I added a thick bead of 3M 5200 to the though hull and put it back in the hole and tightened the bolt down with help from my neighbor holding the though hull in place with a set of plyers. When it was nice and tight I went back and cleaned up the excess 5200 with acetone and a cloth to make it look good.
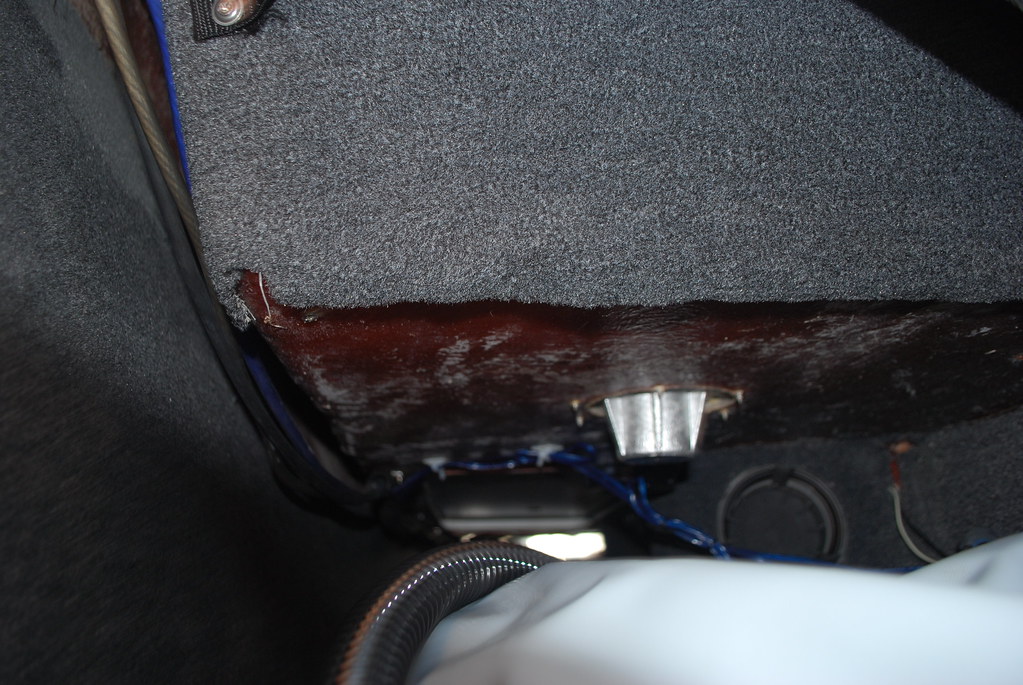
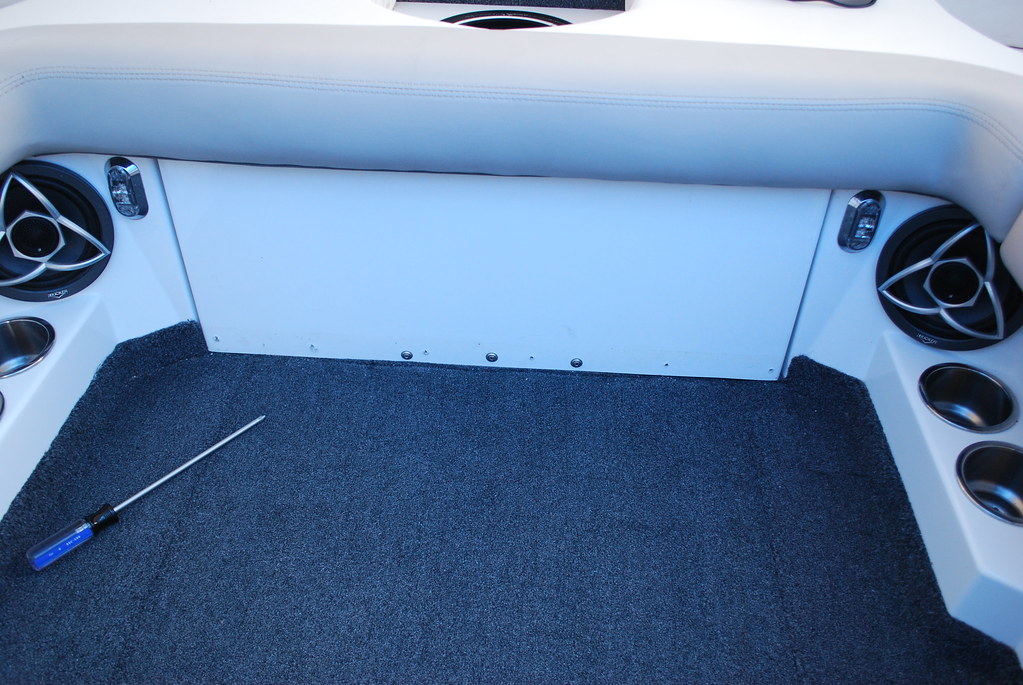
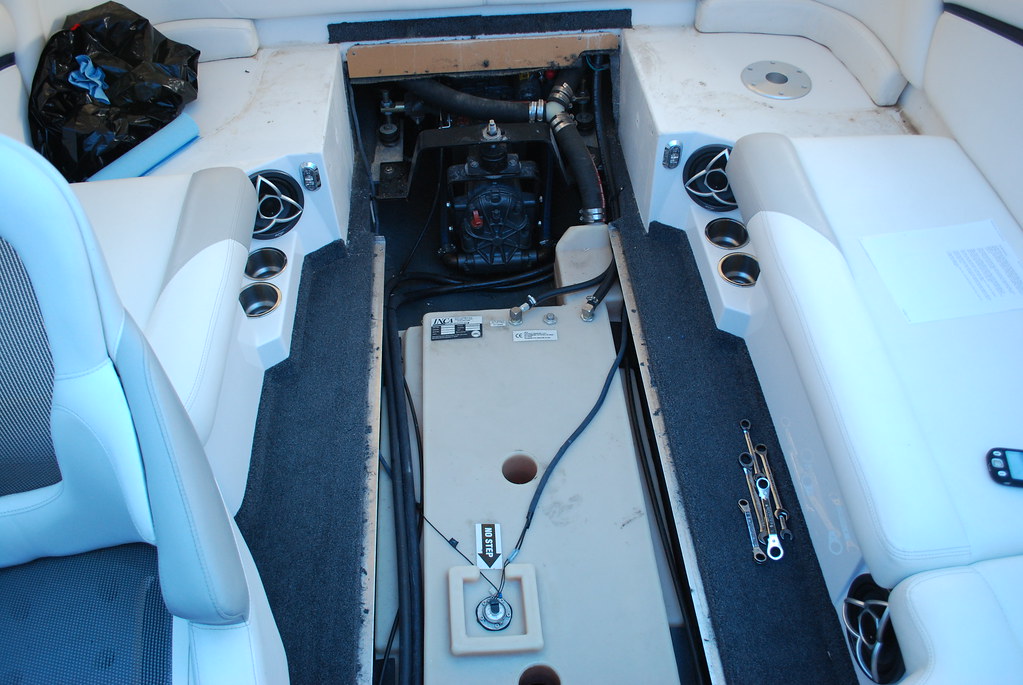
A big thanks for EKS who I got the detailed instructions from. Here is how it goes down. There are 5 or 6 screws in the carpet panel as you see in the main pick. Once you remove that there are 3 screws to remove. Take out the access cushion and access panel and you can feel to your left and right the bolts that hold the back seat in place. Use a 7/16" wrench to remove the bolts. You have a bolt, lock washer and a bigger washer. Lift the seat out. Now you can take out the fiberglass box that is below. Once that is out you can now remove the floor and see the gas tank and have all the access you want to do the install.
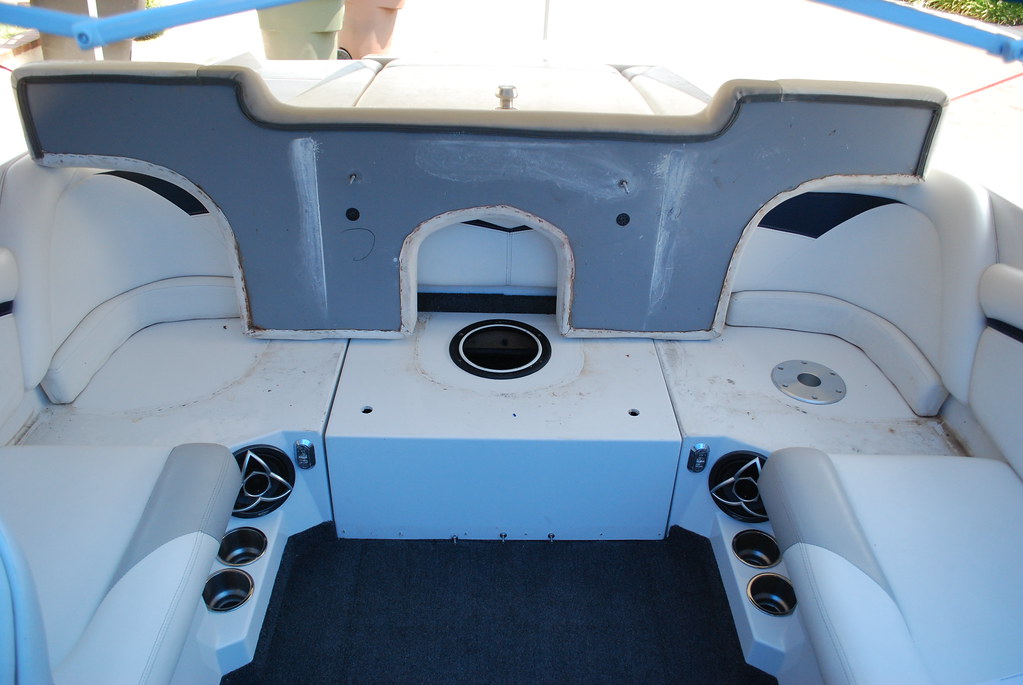
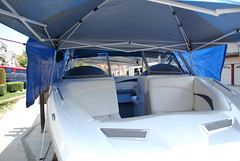
After setting up Tent City it was time to clean up some wiring and remove the front panels that section off the RZ2. I got out the zip ties and tied up a bunch of loose wiring and made it look good again. I got rid of the vent hose in the bow which by the way is useless. The hose connects to nothing most of it has tears in it and goes into some hole in which leads to under the boat. I am sure someone is going to tell me I need to have them but the air will flow just fine with out the hose. The I took out the panel that sectioned off the front of the RZ2. I removed the bolts then pulled until the staples broke then did it again to the other side and got rid of the extra wonder board.
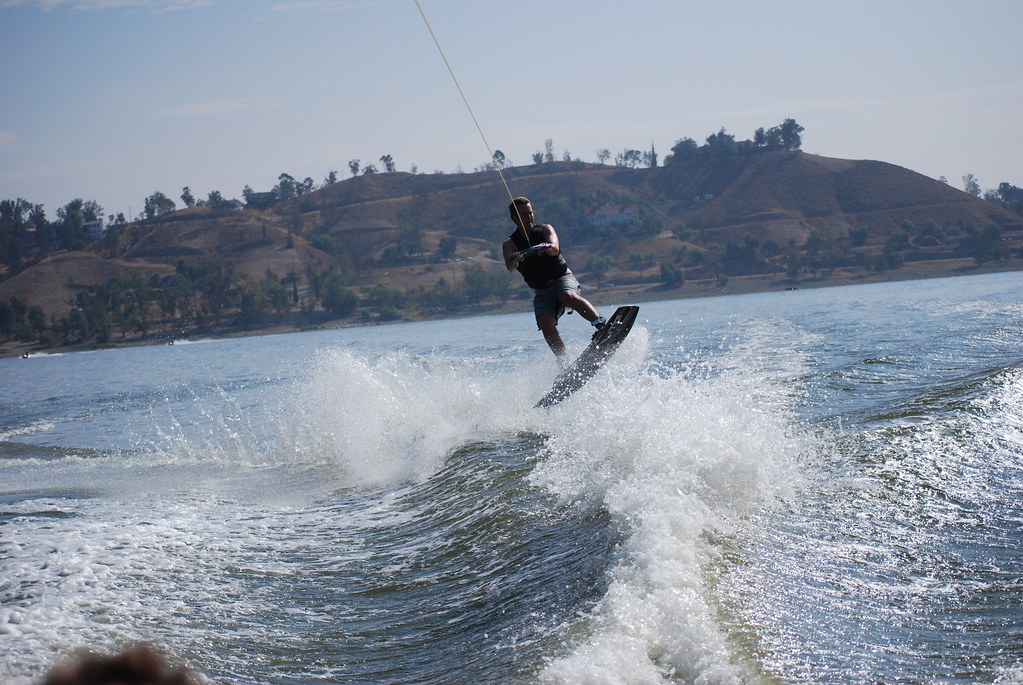


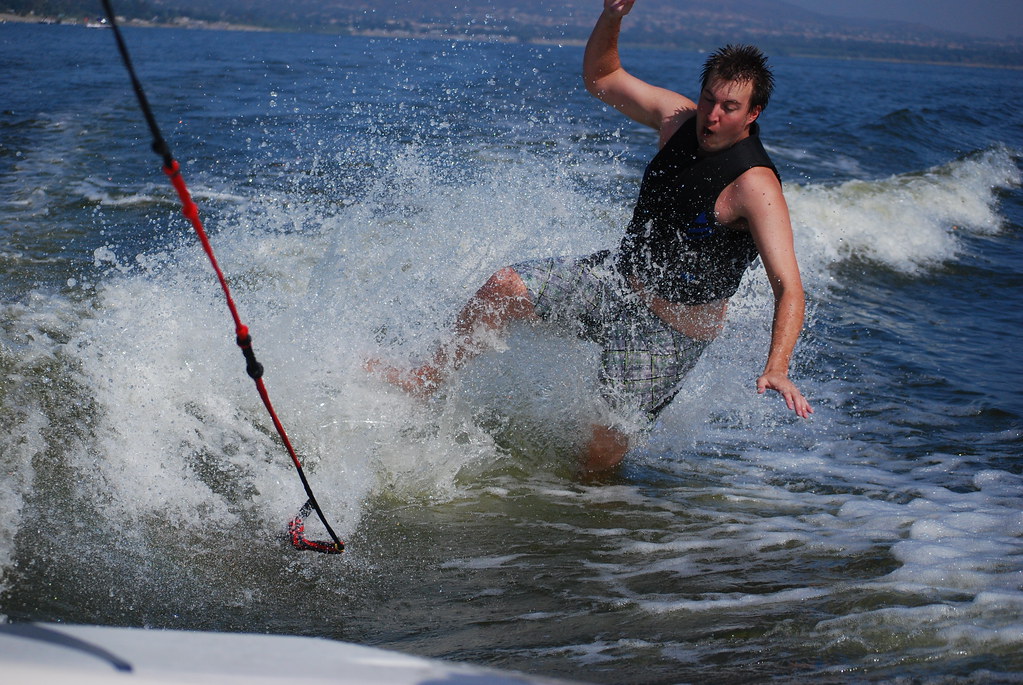 I had to throw this one in for laughs. G was throwing some spins and got caught.